
How to Prepare a Wall for Tiling: A Step-by-Step Guide
time2023/12/22
- Properly preparing the wall surface is crucial for a successful tile installation. Whether you're tiling a kitchen backsplash, a bathroom wall, or any other area, taking the time to adequately prepare the wall will ensure a durable and visually appealing result. In this article, we will guide you through the essential steps to prepare a wall for tiling, ensuring a smooth and long-lasting tile installation.
Introduction:
Properly preparing the wall surface is crucial for a successful tile installation. Whether you're tiling a kitchen backsplash, a bathroom wall, or any other area, taking the time to adequately prepare the wall will ensure a durable and visually appealing result. In this article, we will guide you through the essential steps to prepare a wall for tiling, ensuring a smooth and long-lasting tile installation.
Step 1: Assess the Wall
Begin by thoroughly examining the wall surface. Look for any cracks, holes, or imperfections. Addressing these issues before tiling will help create a solid foundation for your tiles. Repair any damaged areas using a suitable filler or patching compound. Allow the repairs to dry completely before proceeding to the next step.
Step 2: Remove Existing Wall Coverings
If there are any existing wall coverings such as wallpaper or peeling paint, it's important to remove them. Use a wallpaper steamer or a stripping solution to efficiently remove wallpaper. For peeling or loose paint, scrape it off using a putty knife or a paint scraper. The goal is to have a clean and smooth surface to work with.
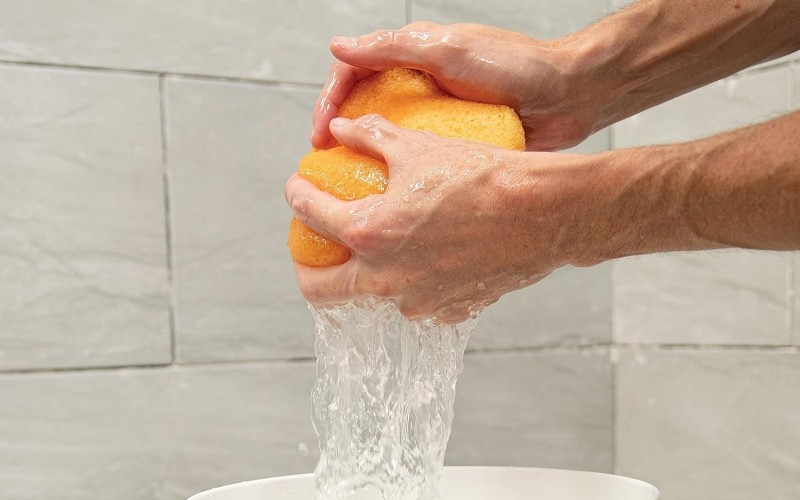
Step 3: Clean the Wall
Before tiling, ensure that the wall surface is free from dust, grease, and any other contaminants that may affect the tile adhesion. Thoroughly clean the wall using a mild detergent or a specially formulated wall cleaner. Scrub the surface gently with a sponge or a soft brush, and rinse it with clean water. Allow the wall to dry completely before proceeding.
Step 4: Check for Level and Plumb
Using a level and a plumb line, check the wall for both horizontal and vertical alignment. This step is crucial to ensure that your tiles will be installed straight and even. If you notice any significant deviations, use a leveling compound or shims to correct them. Allow the leveling compound to dry according to the manufacturer's instructions.
Step 5: Apply a Primer
To enhance the adhesion of the tile adhesive, it's recommended to apply a suitable primer to the wall surface. Follow the manufacturer's instructions for the specific primer you are using. Apply it evenly using a paintbrush or a roller, and allow it to dry completely.
Step 6: Plan the Tile Layout
Before you start tiling, carefully plan the tile layout. Measure the wall and mark the starting point for your tiles. Use a chalk line or a straight edge to create reference lines that will guide your tile installation. This step will help you achieve a symmetrical and balanced result.
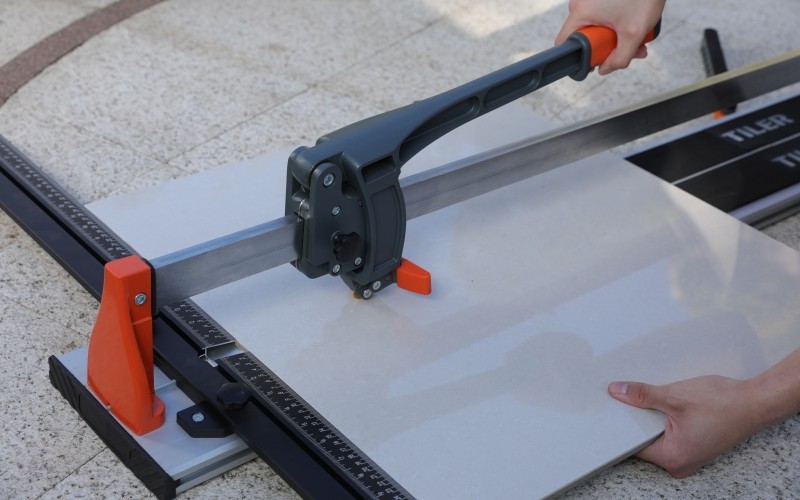
Step 7: Gather the Right Tools and Materials
Ensure you have all the necessary tools and materials ready for the tiling process. These may include tile adhesive, a notched trowel, tile spacers, a tile cutter or wet saw, a grout float, and grout. Having everything prepared beforehand will streamline the tiling process.

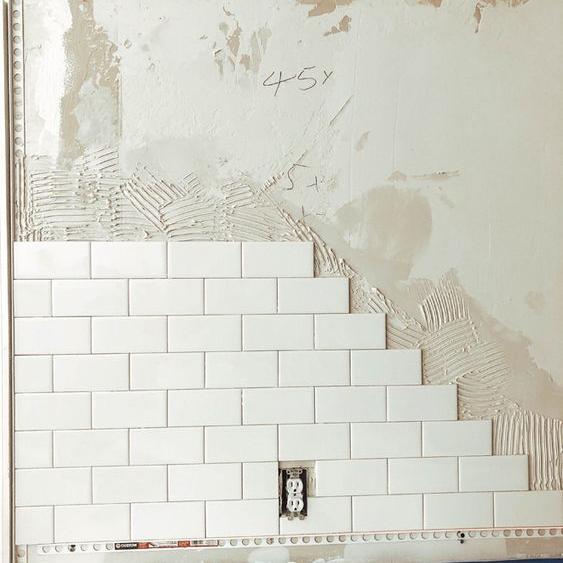
Step 8: Begin Tiling
Following the manufacturer's instructions, apply the tile adhesive to the wall using a notched trowel. Start in a corner and work your way outwards, placing tiles along the reference lines you created earlier. Use tile spacers to maintain consistent spacing between tiles. Continue tiling, periodically checking for level and plumb.
Step 9: Grouting and Finishing
Once the adhesive has cured, remove the tile spacers and prepare the grout according to the manufacturer's instructions. Apply the grout using a grout float, ensuring all the gaps between tiles are completely filled. Wipe away any excess grout using a damp sponge. Allow the grout to dry, and then polish the tiles with a clean, dry cloth to remove any haze.
Conclusion:
Properly preparing the wall surface is essential for a successful tile installation. By following these step-by-step guidelines, you can ensure a smooth and long-lasting tile project. Take the time to assess and repair the wall, clean it thoroughly, check for level and plumb, apply a primer, plan the layout, and gather the necessary tools and materials. With careful preparation, you'll be ready to create a beautiful tiled surface that will enhance the aesthetics and functionality of your space.


