
Everything You Need to Know About Tile Spacers
time2023/09/11
- Tile spacers may be small, but they can have a big impact on the final look of your tile job. In this article, we'll give you some basic information you need to know about tile spacers.
The beauty of a good tile job is being able to appreciate perfectly spaced tiles - and on the flip side, nothing makes a tile surface look shoddy like uneven spacing. So how do you achieve this stunning symmetry in your work? Use tile spacers of course! These little plastic wonders may be small, but they can have a big impact on the final look of your tile job.
In this article, we'll tell you everything you need to know about tile spacers, including what they are, how to use them, and some other handy insider tips.
What Are Tile Spacers?
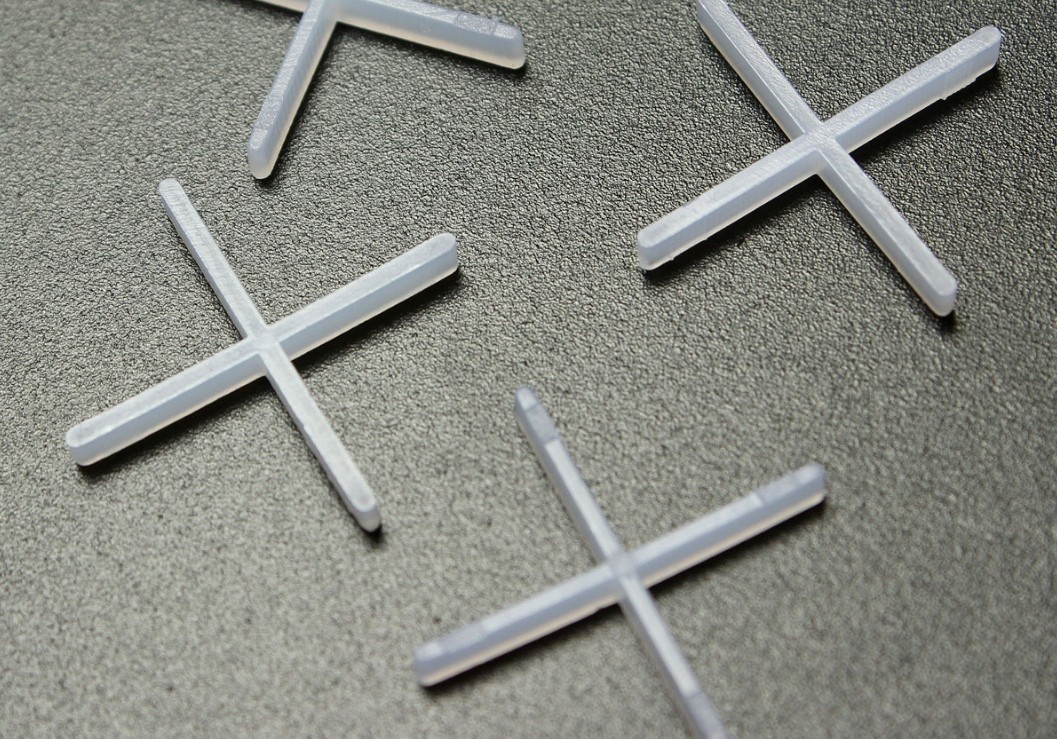
A tiler's savior, that's it! But from a physical perspective, tile spacers are small pieces of plastic placed between tiles during installation to achieve a consistent width across the entire joint. This will give you an even finish when grouting the tiles. They are usually cross or T-shaped and come in a variety of sizes to accommodate different tile width preferences - so you're sure to find the right spacer to achieve the aesthetic you require.
Is It Possible to Use Tiles Without Spacers?
We certainly don’t recommend laying tiles without spacers. From a technical standpoint, tiles are more susceptible to cracking and popping when installed without the help of spacers. Due to their thermal properties, tiles can expand and contract – however, this may be imperceptible to the human eye. Using tile spacers ensures there is enough space for this natural process to occur without damaging the tile.
Aesthetically, without shims, you may get uneven results. Even if you use a laser level or other form of measuring device, the spacers will hold the tiles in place while they set. Even a small expansion of the tile without spacers to support it can make everything messy. Tile spacers are relatively inexpensive, so this is one of those situations where it's better to be safe than sorry.
Can Grout Be Applied to Tile Spacers?
Short answer: Just because you can doesn't mean you should. Grouting over tile spacers can result in a substandard end result, especially for floor tiles. If your spacers don't protrude onto the tile, you may be tempted to grout the tile - but you'll end up paying the price. The finished job may look great, but over time, neglected gaskets will compromise the structural integrity of your grout joints. You may eventually notice that as the grout becomes weaker over time, cross-shaped cracks develop in the buried gasket - which doesn't look good.
What Size Spacer Should You Use?
The size of the spacer is a matter of personal preference as it will directly affect the appearance of the grout. There are some minimum standards that allow for tile movement and stress relief - usually, 2mm for walls and 3mm for floors is sufficient. Beyond that, you can make a judgment call based on how you want your grout to look (or not).
How Long Should You Keep Tile Spacers On?
The art of tile spacing requires some clever timing. It is important to leave the tile spacers in place while the adhesive dries but to remove the spacers before the tiles are fully bonded in place. It usually takes 20-30 minutes, but carefully check the manufacturer's instructions on the adhesive package and make a note to remove the spacers before the tiles are fully bonded. This will make your life a lot easier, which leads us to the next point...
How to Use Tile Spacers: Step by Step
1. Find the center of the room and use chalk lines or a laser level to create grid lines. This will ensure your first tile and spacer are centered and straight, ready for your perfect job.
2. Lay the first tile according to your reference points.
3. Place a spacer on each corner of the tile, making sure each corner is flush. Tip: When laying tile, it's a good idea to use two T-shaped spacers on each side (and a cross spacer on each corner). This helps improve accuracy along the length of the tile.
4. Place the next tile on the spacers of the center tile, then place additional spacers on the bare corners of the new tile.
5. Repeat this process, keeping the spacing process consistent.
6. When reaching areas where cross-shaped gaskets are not required, use T-shaped gaskets. Place the flat end of the spacer against a wall (or other surface). Don't have a T-gasket handy yet? You can make your own by snapping off one side of a cross-shaped shim.
7. Remove the gasket after the tiles have been placed but before the adhesive is completely sealed. You can use your fingers or needle nose pliers to remove the gasket.
8. Look! You are ready to start grouting the tiles evenly distributed.
Don't Risk a Useless Tile Job
Now that you know how affordable, convenient, and easy-to-use tile spacers are, you can start your next tile adventure with confidence. If the extra effort seems like too much, remember: You'll be seeing these tiles for years to come, so it's worth it to get the job done right!
The above introduces some information related to tile spacers. If you want to know more or want to purchase tile spacers, please contact us.
TILER is a professional custom tile-laying tools manufacturer, committed to providing installers with accurate, efficient, innovative, and professional tile cutting and laying tools. Our six product categories cover all the necessary tools for tile decoration, including tile cutters, large slab systems, tile treatment tools, tile leveling tools, grouting and cleaning tools, and other tile tools.
We advocate the spirit of craftsmanship and are always committed to creating perfect, precise and safe products. Through advanced design, high-quality products and custom service, TILER makes tile installation easy and a pleasant experience for installers.

Tile spacers are placed between each tile during installation to create a uniform gap or joint between the tiles.

Tile spacers are placed between each tile during installation to create a uniform gap or joint between the tiles.

Tile spacers are placed between each tile during installation to create a uniform gap or joint between the tiles.

Tile spacers are placed between each tile during installation to create a uniform gap or joint between the tiles.