
How to Drill Holes in Tile in 7 Easy Steps?
time2023/08/14
- Knowing how to drill holes in tile can be helpful if you're going to have a successful tile installation project. Read on to learn how to drill through tile the right way.
Knowing how to drill holes in tile can be helpful if you're going to have a successful tile installation project. Designs can be elaborate, with tiles cut to perfection and everything laid evenly. However, your work is not done yet. Now for the part that might compromise your hard work: drilling a hole in the tile to install the trim. One slip or awkward move can lead to cracked, ugly tiles.
How to Drill Holes in Tile?
Before you get up the nerve to start breaking through the smooth surface, make sure you know how to drill holes in tile. This might seem like a pretty simple job, especially if you're a DIY enthusiast who isn't too familiar with the different types of tiles and their properties. But even if you're CTI certified, the smallest mistake can ruin a tile.
Fortunately for you, we've got a bunch of tips to help you learn how to drill holes in your tile without ruining it. But keep in mind that these steps won't guarantee that your tile won't crack. They will only greatly reduce the possibility. Without further ado, here's how to drill through tile the right way.
Step 1: Get to Know Your Tiles
If you want to learn how to drill holes in tile, one of the first things you need to pay attention to is the type of tile you are using. If you understand the characteristics of the material you are drilling, you will have a better understanding of the task at hand.
Ceramic tiles, for example, are harder to crack than ceramic tiles because they are so dense. As a result, drilling tiles requires more work and preparation than cutting other types of tiles. You'll also need a special drill that can penetrate the hard surface of the tile. The same goes for drilling holes in stone bricks.
Now that you know what your challenges are, let's look at the tools you need for this type of project.
Step 2: Make Sure You Have the Correct Drill
No matter what material you're drilling into, never use an old, worn-out tile drill bit. Not only are they not as efficient as new drills, but if the drill is not operating at peak performance, the chances of damaging the tile surface increase dramatically.
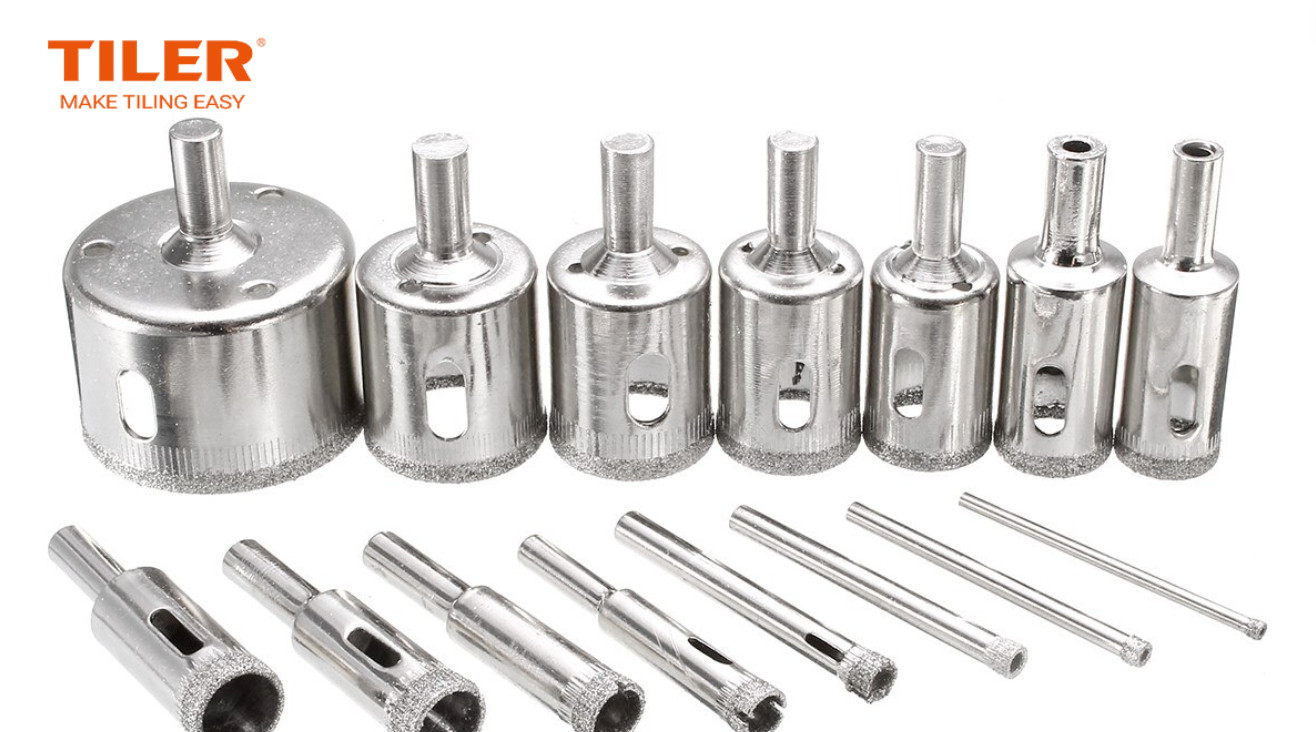
Also, don't use a regular drill for this task. They are not strong enough to penetrate the hard surface of the tile. Instead, opt for a diamond drill bit. Diamond bits, while a bit more expensive, are extremely durable and can penetrate even the hardest tile surfaces, such as porcelain. It also doesn't burn out as easily as masonry bits.
If you don't have the tools you need to drill holes in tile, at TILER you'll find a full range of drill bits to help you succeed in this task!
Step 3: Measure and Mark the Area
If you've ever tried to drill holes in tile, you probably know that drill bits tend to slide across the surface, making it difficult to hold them in place. One wrong move and the tile can be scratched, or even worse, cracked.
A simple trick that can be used to create tension is to use masking tape over the area where the hole will be drilled. Measure the area, mark it with an X, and place the masking tape. Measure again after applying the masking tape to make sure there are no misplaced holes. That way you'll have plenty of surface traction when you start drilling.
If you have multiple holes to drill and you don't want to repeat the process over and over, you can create a template from a piece of wood. Cut a hole in the wood, making sure it is the same size as the drill you will be using. Place it over the drill hole and hold it firmly with your free hand.
Step 4: Start Drilling
Now, this is where the fun begins. This is the part where you will actually learn how to drill holes in the tile. Once the surface is marked or your wood formwork is in place, it's time to start drilling.
The problem with tiles (although we're not sure we can call that a problem) is that they're designed to withstand a lot of abuse. However, this also makes them difficult to drill. If you rush through the process, you could undo all your hard work.
One of the most important things you need to remember is that drilling holes in tiles is a task that requires a lot of patience. Start drilling at low speed and slowly. Take your time - it may take you a while to penetrate the hard glass surface. Don't make the mistake of thinking that going full speed is more efficient. In fact, you're just overheating everything and creating vibrations that can damage surfaces.
Apply constant pressure, but not too much. Otherwise, you will punch through the tile and create cracks.
Step 5: Don't Forget to Cool the Bit
One of the secrets to drilling in tile is keeping everything cool. Use a small damp sponge to cool the drill and keep it from overheating.
If you're alone and can't hold the drill in one hand and the wood grain in the other while cooling the drill, stop now and then and spray with water. Just make sure not to pour water into the motorized parts of the rig.
Another trick to keep the drill cool is to place a damp sponge under the drill. This way, not only will you keep the drill from overheating, but it will also trap dust and debris from the tile. Not to mention, you'll also prevent water from pouring from the walls onto the floor.
Here's a quick side note: Diamond drill bits aren't very expensive to maintain. Even if they get hot, they will continue to work as long as you let them cool down from time to time. If you want to prolong the life of your tool, then you need to drill slowly, without applying too much pressure, and lubricate the bit with cold water.
Step 6: Replace the Bit When It Hits a Wall
You've sliced through tiles and hit walls without doing any damage. Now you can breathe a sigh of relief. You're almost there; all you need to do now is cut through the wall and install the trim.
Continue to drill slowly, avoiding hitting the wall. If this happens, your anchors won't hold properly, and the accents will come loose. If you feel that the drill you are using is not working well, you can replace the drill. The trick, however, is to keep the drill slow and steady, and you'll be able to drill even with a drill made for tile.
Step 7: Now You Know How to Drill Holes in Tile
Take a step back and appreciate the results. You can even pat yourself on the back. You are doing a great job! Now you're ready to tackle your next project with more confidence, from start to finish. Learn how to use RUBI wet drills.
There are a few main points you should keep in mind when it comes to how to drill holes in tiles. First, you need to have the right tools. Without the right drill for the job, the chances of screwing up increase dramatically. Second, you need to be patient. Drilling holes in tile is not a race. You need to drill slowly and steadily through the tile. Also, don't forget to keep everything cool. Overheating is one of the main factors that cause tiles to crack.
Last but not least, you need to be persistent. With practice, this task will only get easier and drilling holes in tile will become less of a heartbreak.
The above introduces some steps for drilling tiles, do you want to buy tile drilling tools or learn more about how to drill holes in tiles? Feel free to browse our product list or contact us for more information on tile-laying tools.
TILER is a professional custom tile tools manufacturer. We advocate the spirit of craftsman and always strive to create perfect, efficient, innovative and professional tile cutting and laying tools. Our six product categories cover all the necessary tools in the world of tile decoration, including tile cutters, large panel systems, tile handling and laying tools, tile leveling tools, grouting and cleaning tools, and other tile tools.